Everything the Letter app can do — write, format, and print real letters, then share them as a print-ready PDF.
Some features are part of the Letter PRO subscription (marked PRO below). The first time you tap a PRO feature, the app shows the upgrade screen with a free trial. Everything else — writing a letter, previewing it, sharing and printing it — is free.
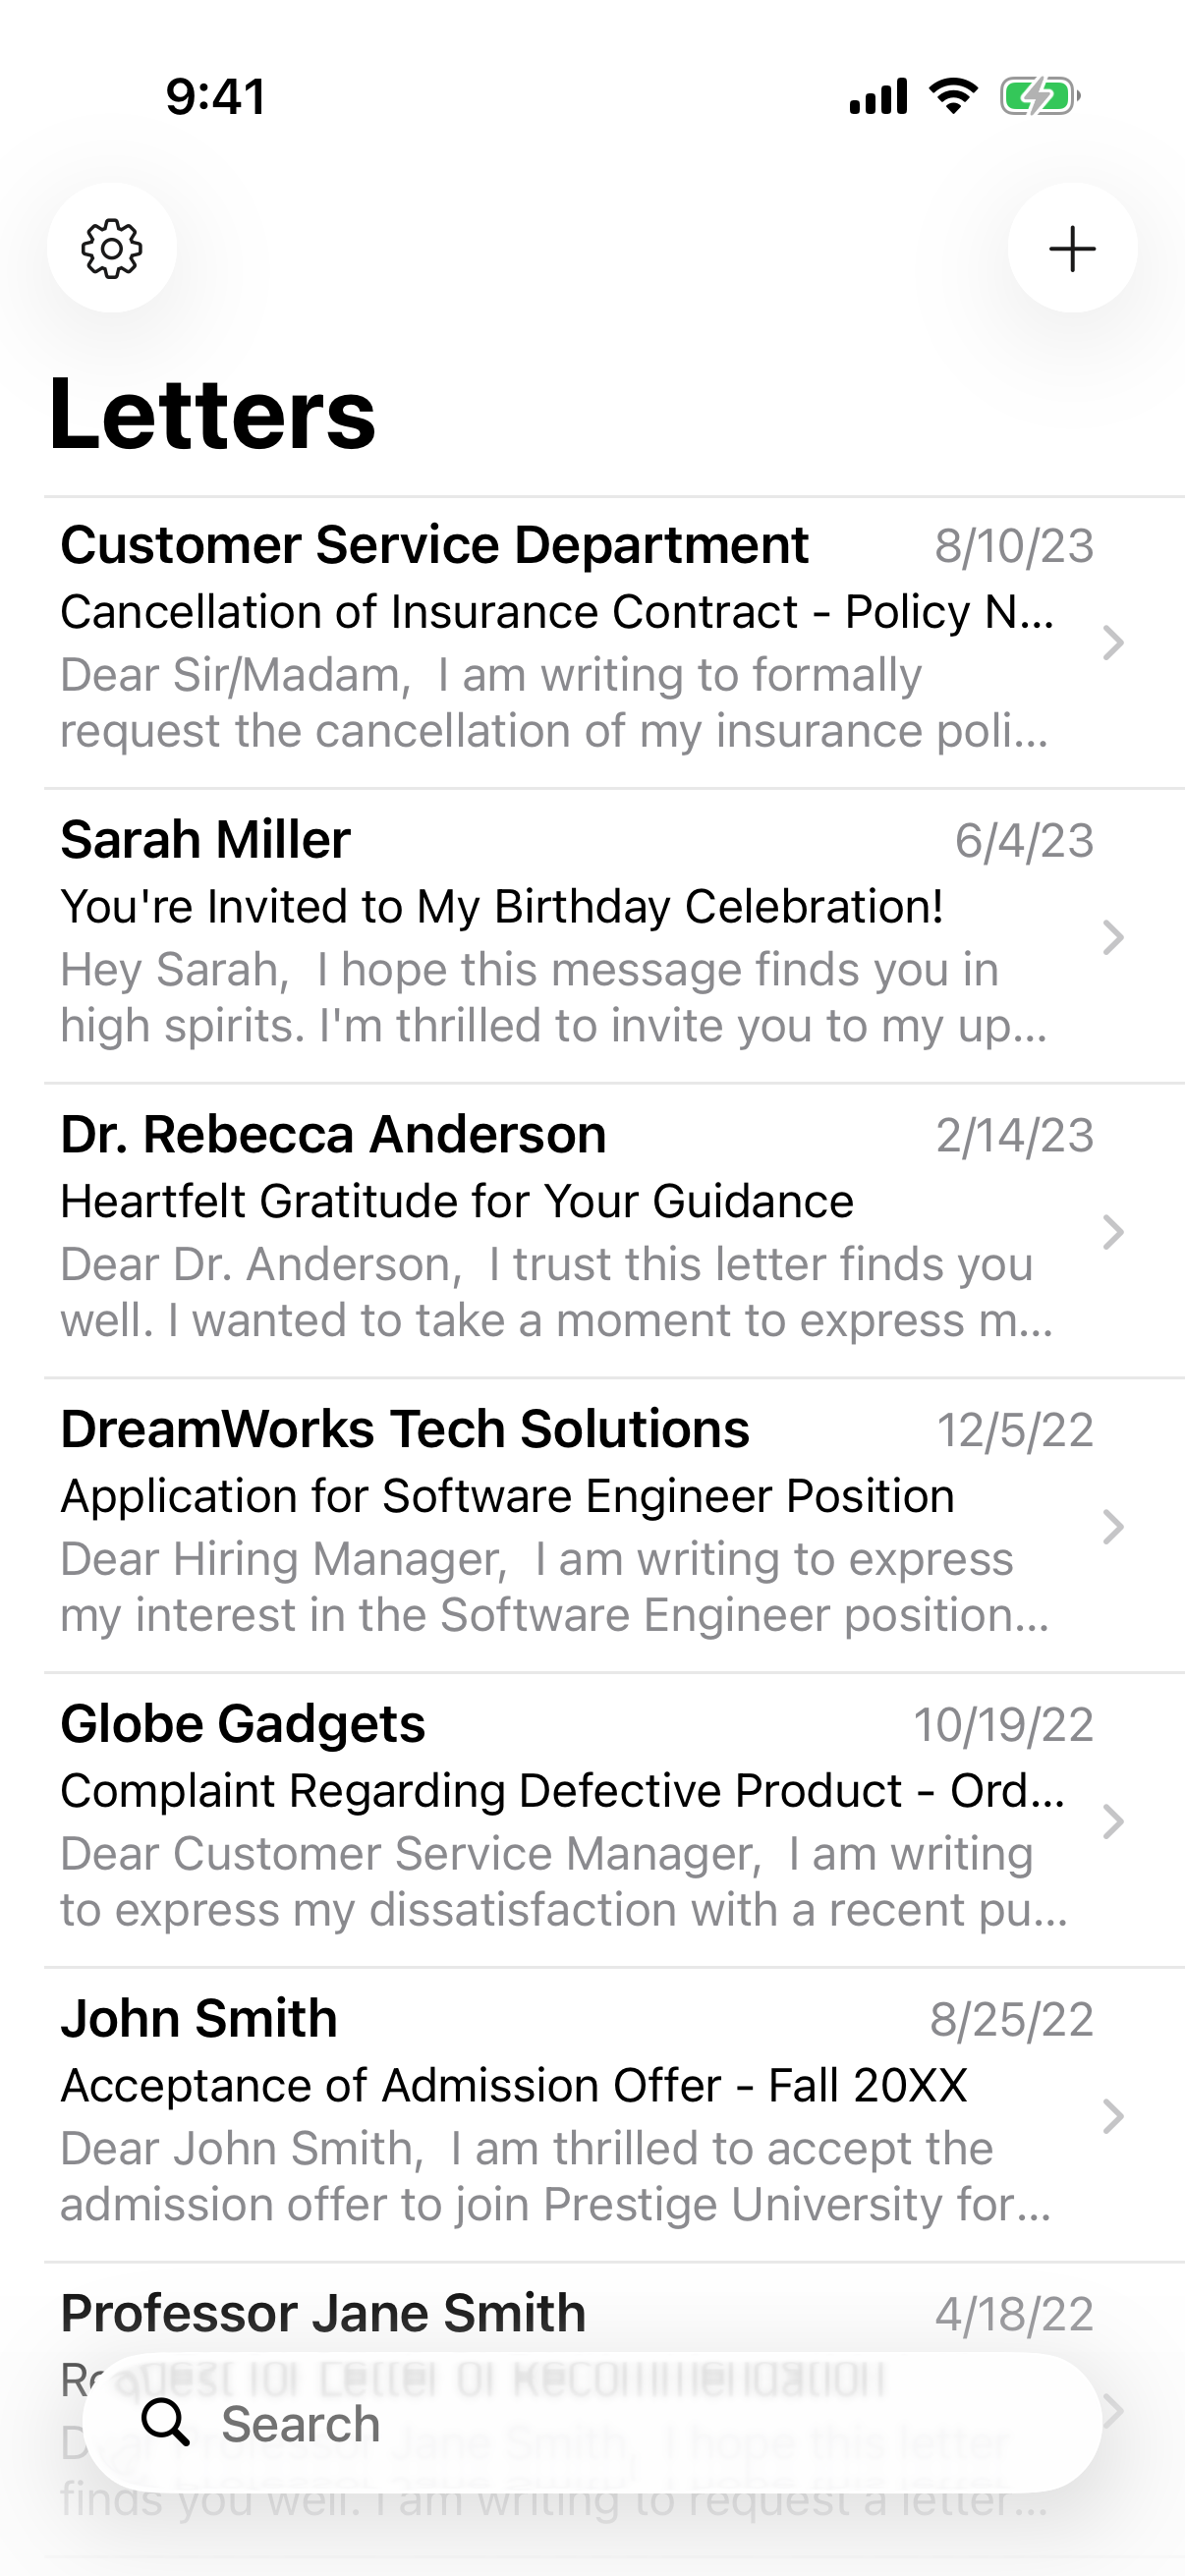
When you open the app you land on your list of letters.
On larger screens — a tablet, or a computer such as a Mac or Chromebook — the list stays on the left and the selected letter's preview shows on the right.
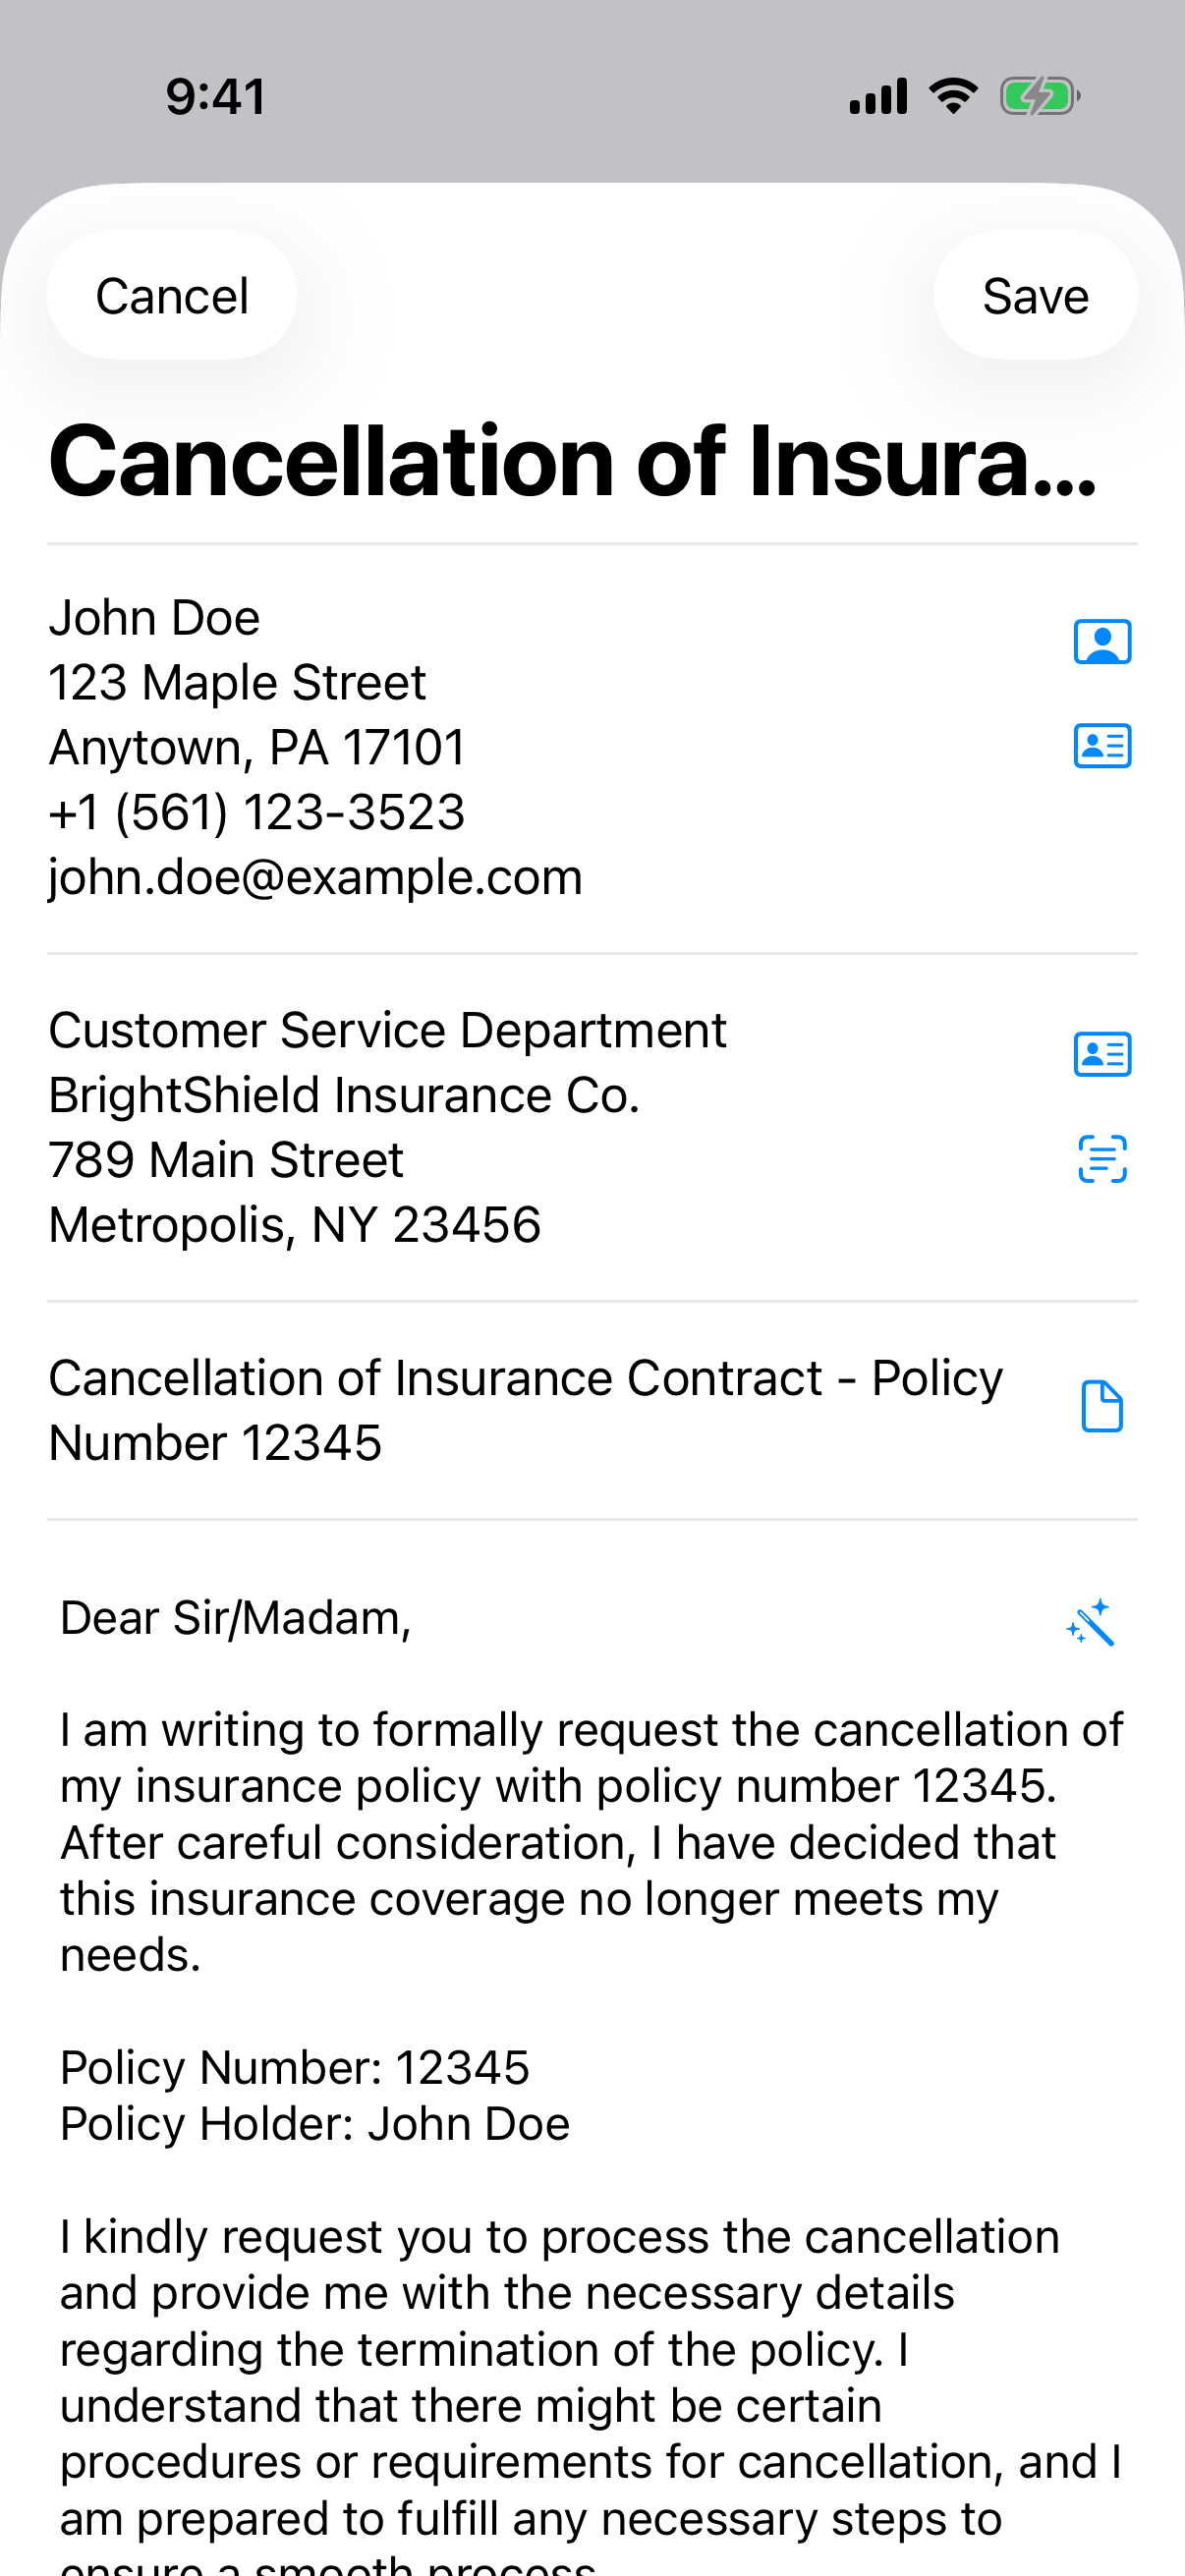
Tap + to create a letter, or open an existing one and tap Edit (pencil icon). The editor has the header fields, the body, and a signature area:
Tap the ✓ Save button in the top-right to save. New letters are added to your list; edits update the letter and return you to the preview.
Leaving with unsaved changes prompts “Discard Changes?” — choose Discard to throw them away or Keep Editing to go back. To delete a letter, open it and tap the trash icon in the preview, then confirm.
In the editor, a formatting toolbar lets you style selected text. Select the text you want to change, then tap the button — or use the keyboard shortcut if you have a hardware keyboard.
| Button | Shortcut | Effect |
|---|---|---|
| Bold | Ctrl + B | Bold text |
| Italic | Ctrl + I | Italic text |
| Underline | Ctrl + U | Underlined text |
Prefer a plain letter with no styling? Turn on Text Only in letter settings.
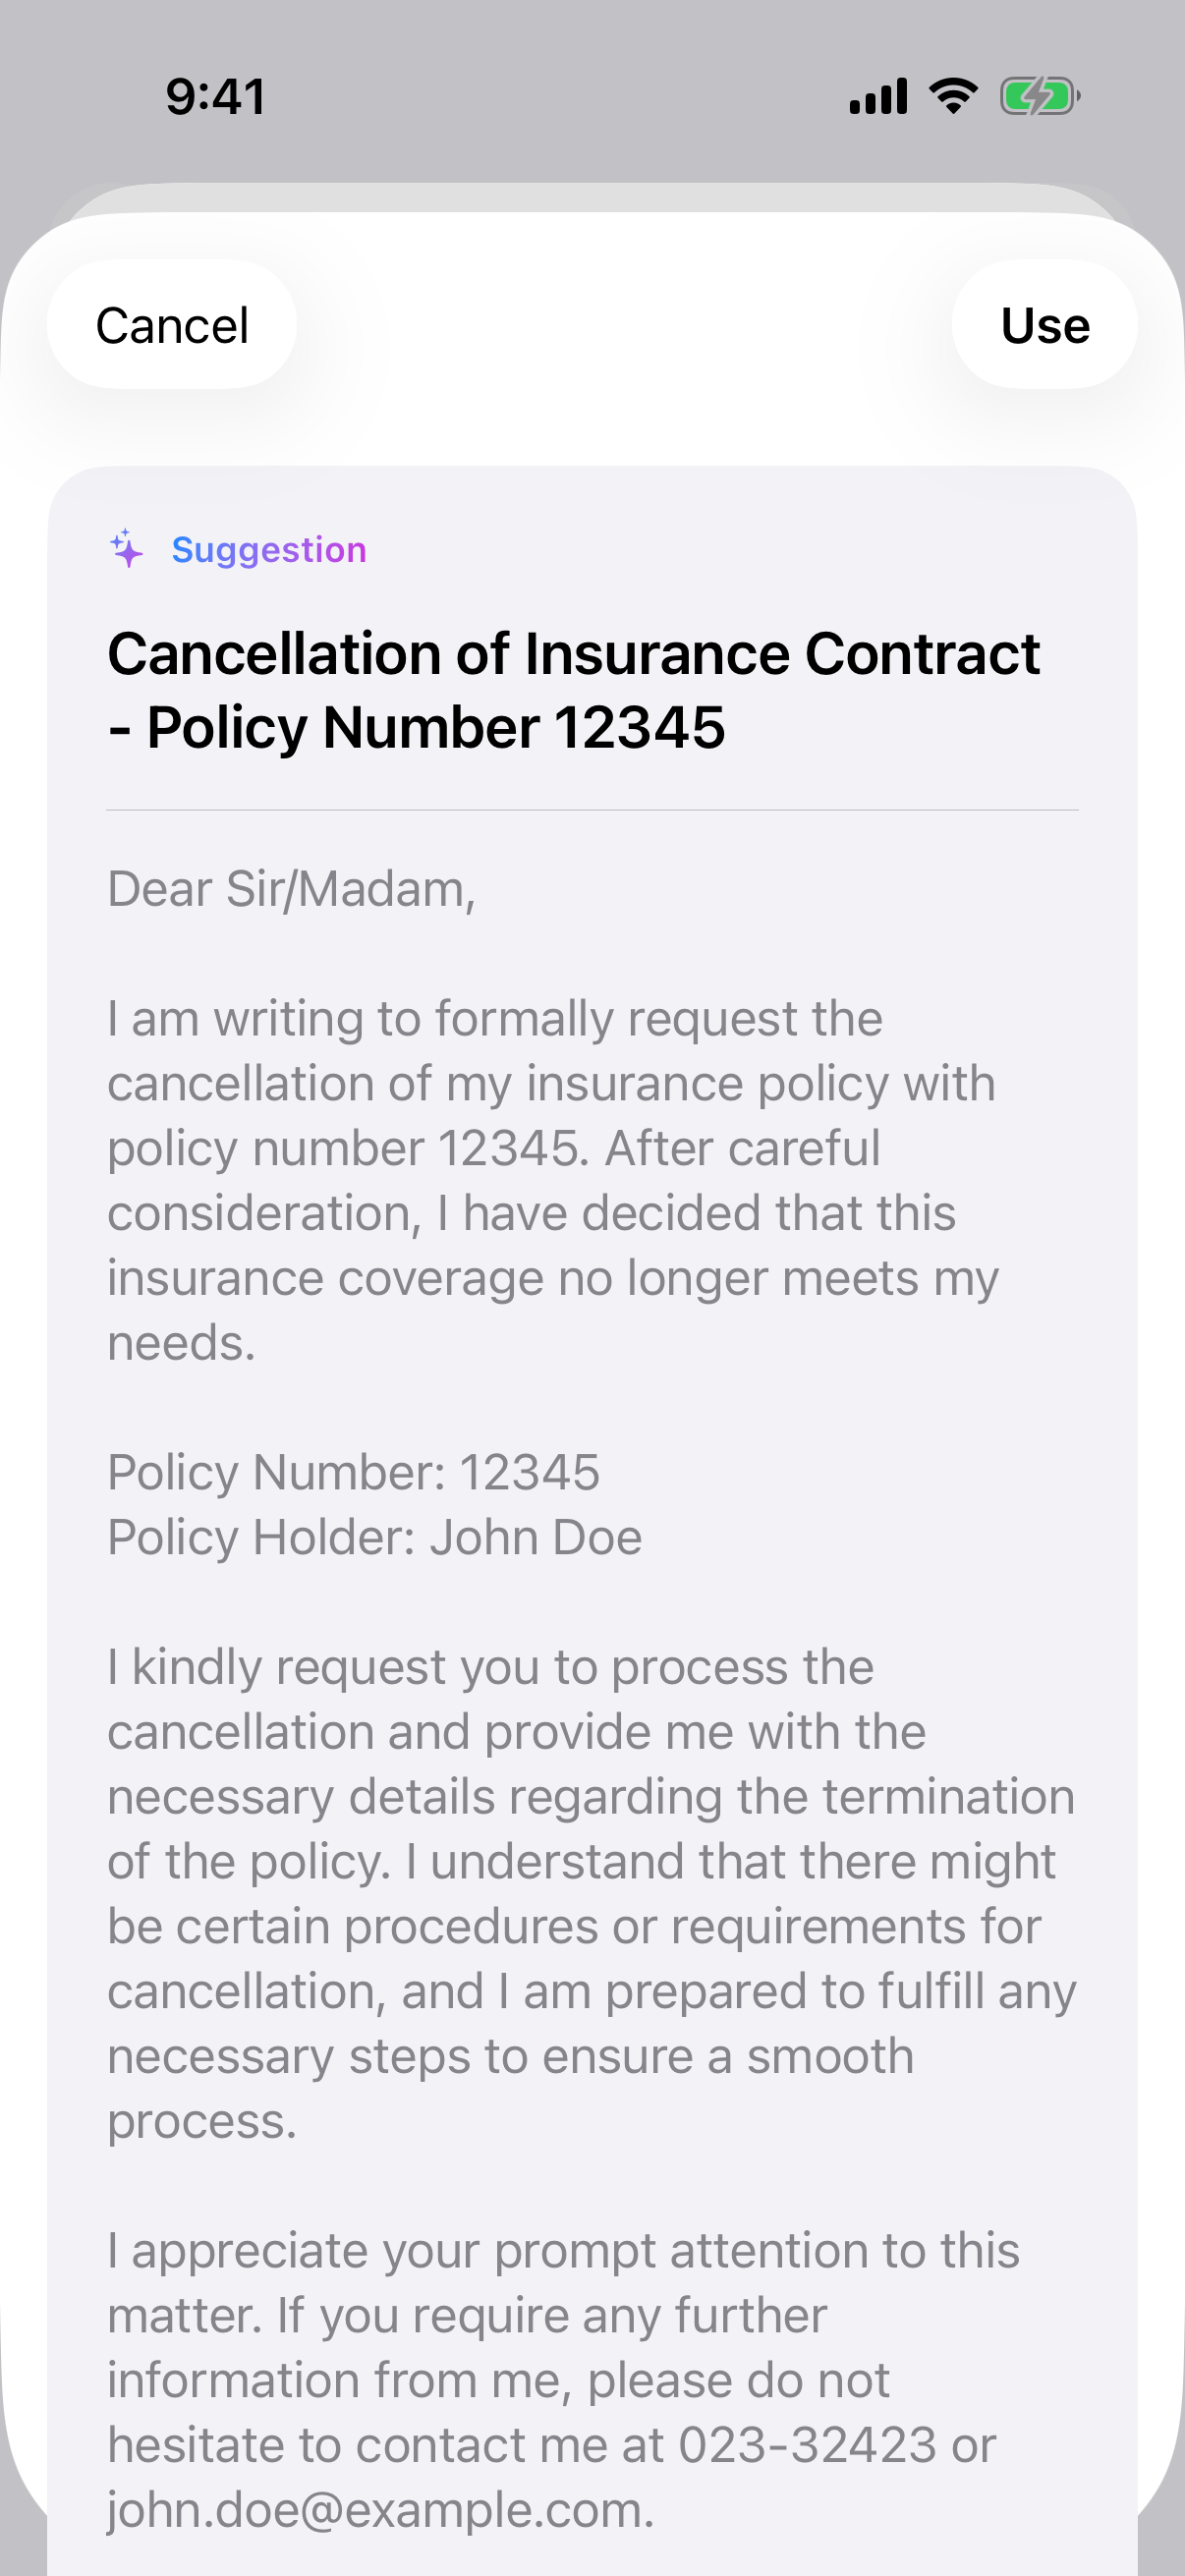
If enabled, a sparkle (✨) button appears in the editor. It drafts a subject and letter body for you — or reworks the text you already wrote.
The options. Each option is a card with an icon, a name, and a one-line description. Tapping a card immediately starts that request — there is no extra confirmation, so pick the one that matches what you need:
| Option | What it does |
|---|---|
| Improve | Refine structure, clarity, and tone while keeping your intent. |
| Spelling & Grammar | Fix spelling, grammar, and punctuation only. |
| Make Shorter | Make it more concise without losing essentials. |
| Make Longer | Expand with appropriate detail and elaboration. |
| Simplify | Use plain, easy-to-understand language. |
| Make Formal | Rewrite in a formal, professional tone. |
| Make Friendly | Rewrite in a warm, friendly tone. |
| Make Direct | Remove hedging and filler to be clear and direct. |
| Write for Me | Turn your notes into a complete, well-structured letter. |
Starting from scratch? Jot down a few bullet points and pick Write for Me. Already happy with your content and only want it polished? Spelling & Grammar changes the least, Improve is the good all-rounder, and the tone options (Formal, Friendly, Direct) rewrite the wording without changing what you're saying.
Every option runs on the whole letter — subject and body together — and always answers in the letter's language. Whatever comes back replaces both fields when you tap Use, so if you only want to keep part of it, copy it out before accepting. You can run the assistant again as often as you like and pick a different option each time.
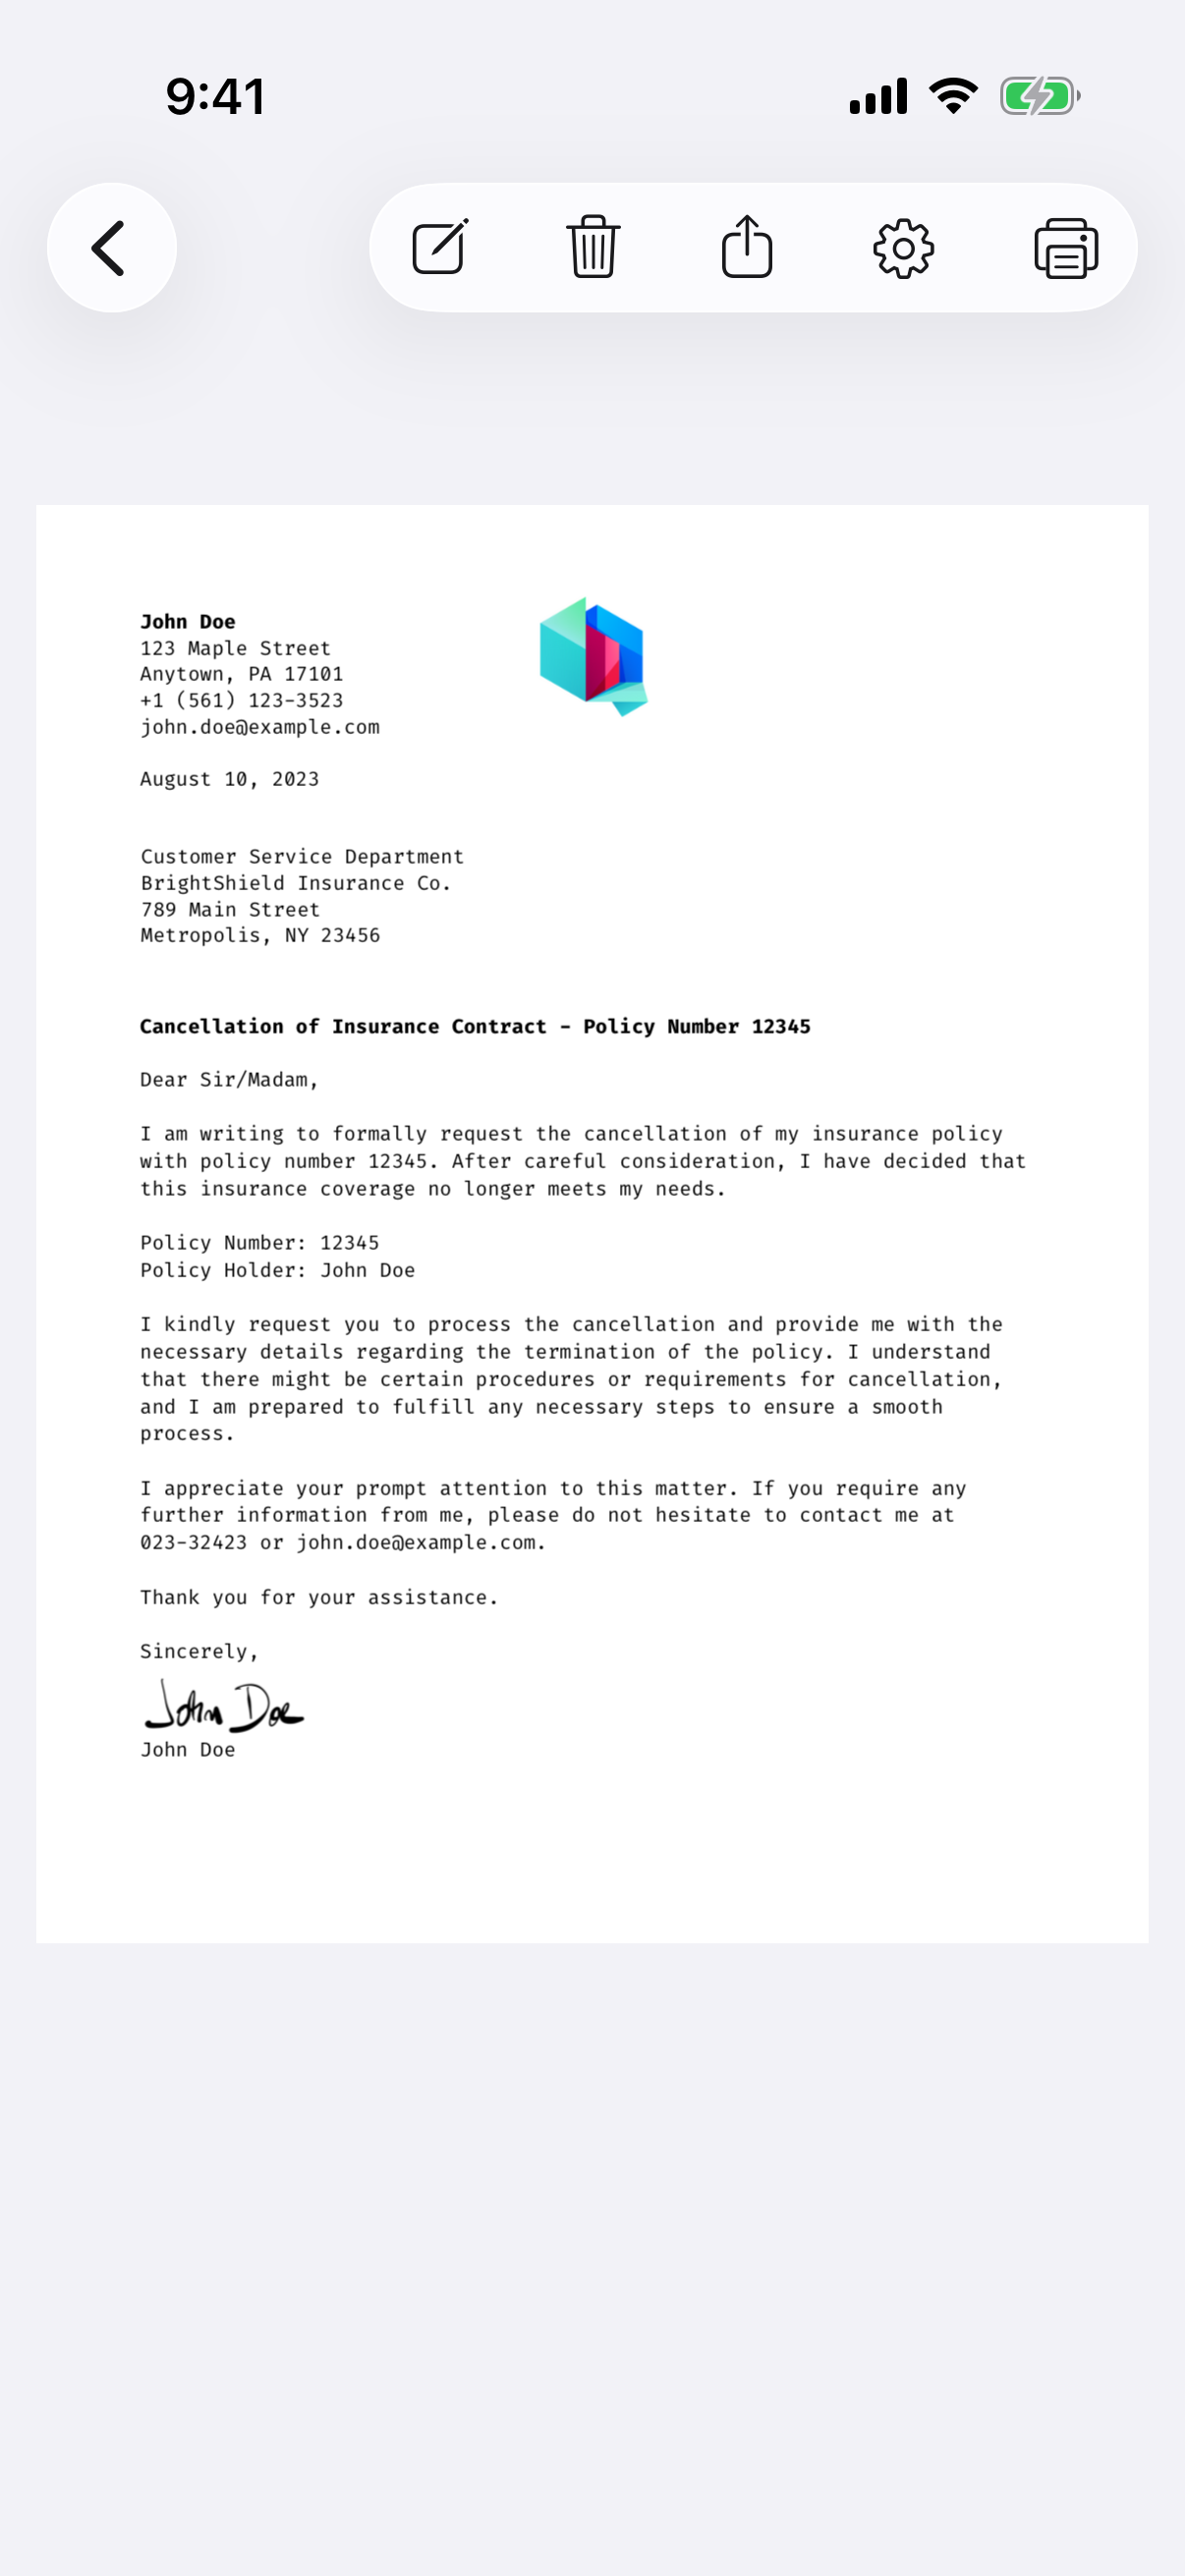
Opening a letter shows a live PDF preview of exactly how it will print. The preview updates whenever you edit the letter. From the top bar you can:
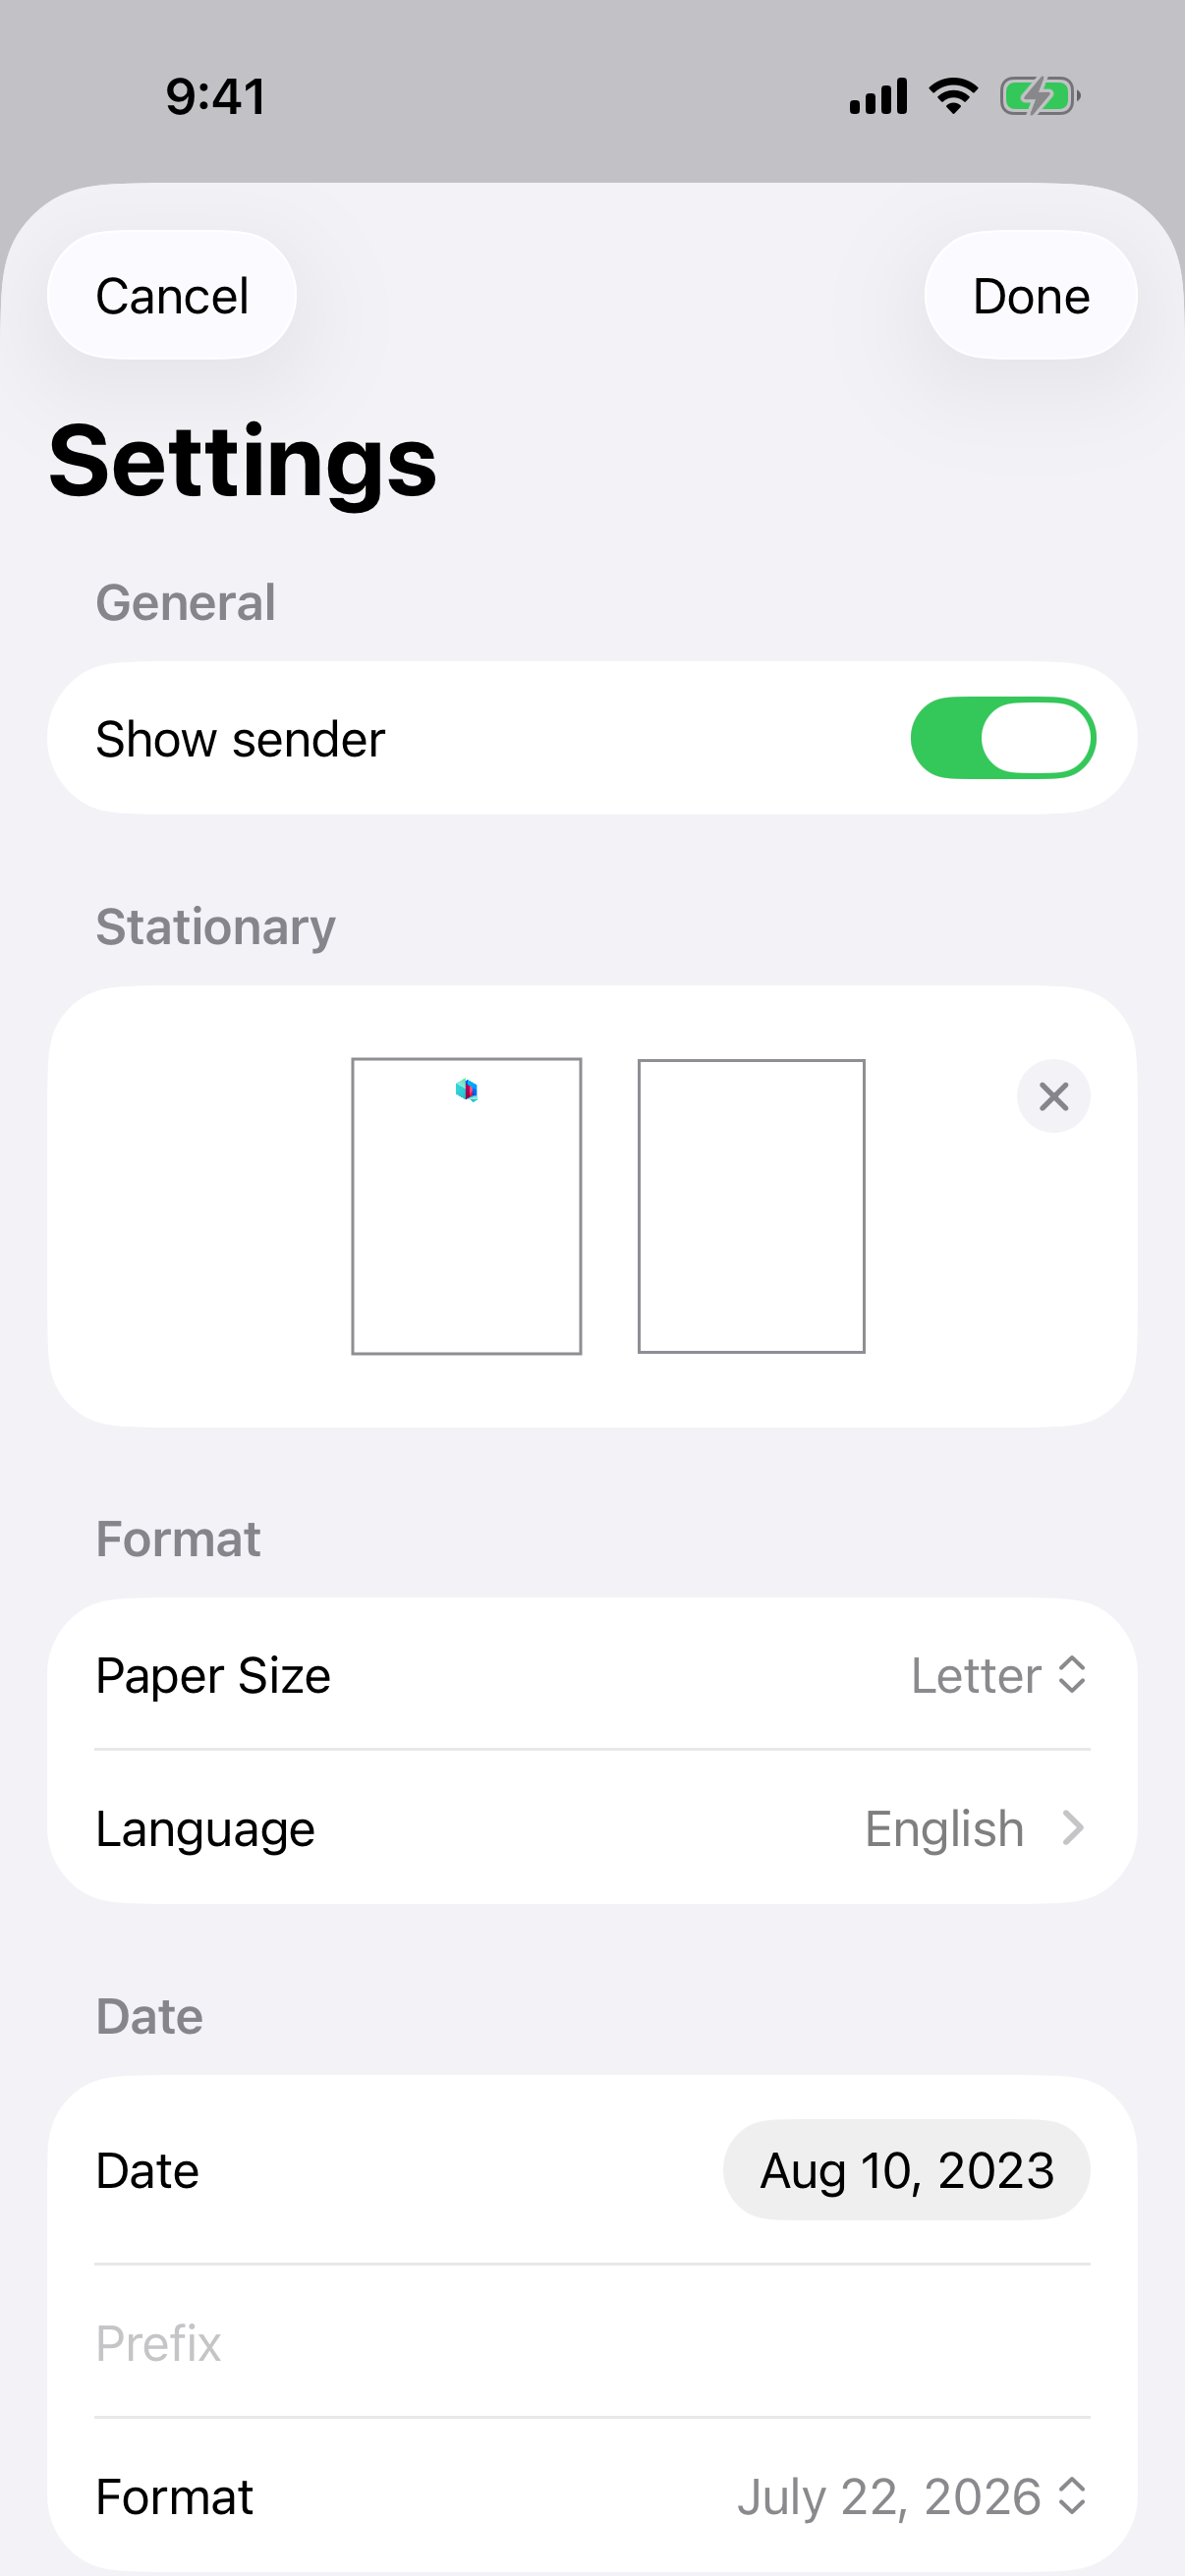
Open a letter and tap the gear icon to control exactly how it appears on paper. Tap ✓ Save when done.
Adding a logo or letterhead: the app doesn't design a logo for you, but you can place any logo or letterhead behind your text with the Stationary option:
To add your logo automatically to every new letter, create a sender profile and upload your stationary PDF there — then every letter you start includes it. You can also save the rest of these preferences in that profile so new letters begin with your preferred layout.
You can add a signature two ways, and they can be combined:
Use Signature alignment in letter settings to place it left or right.
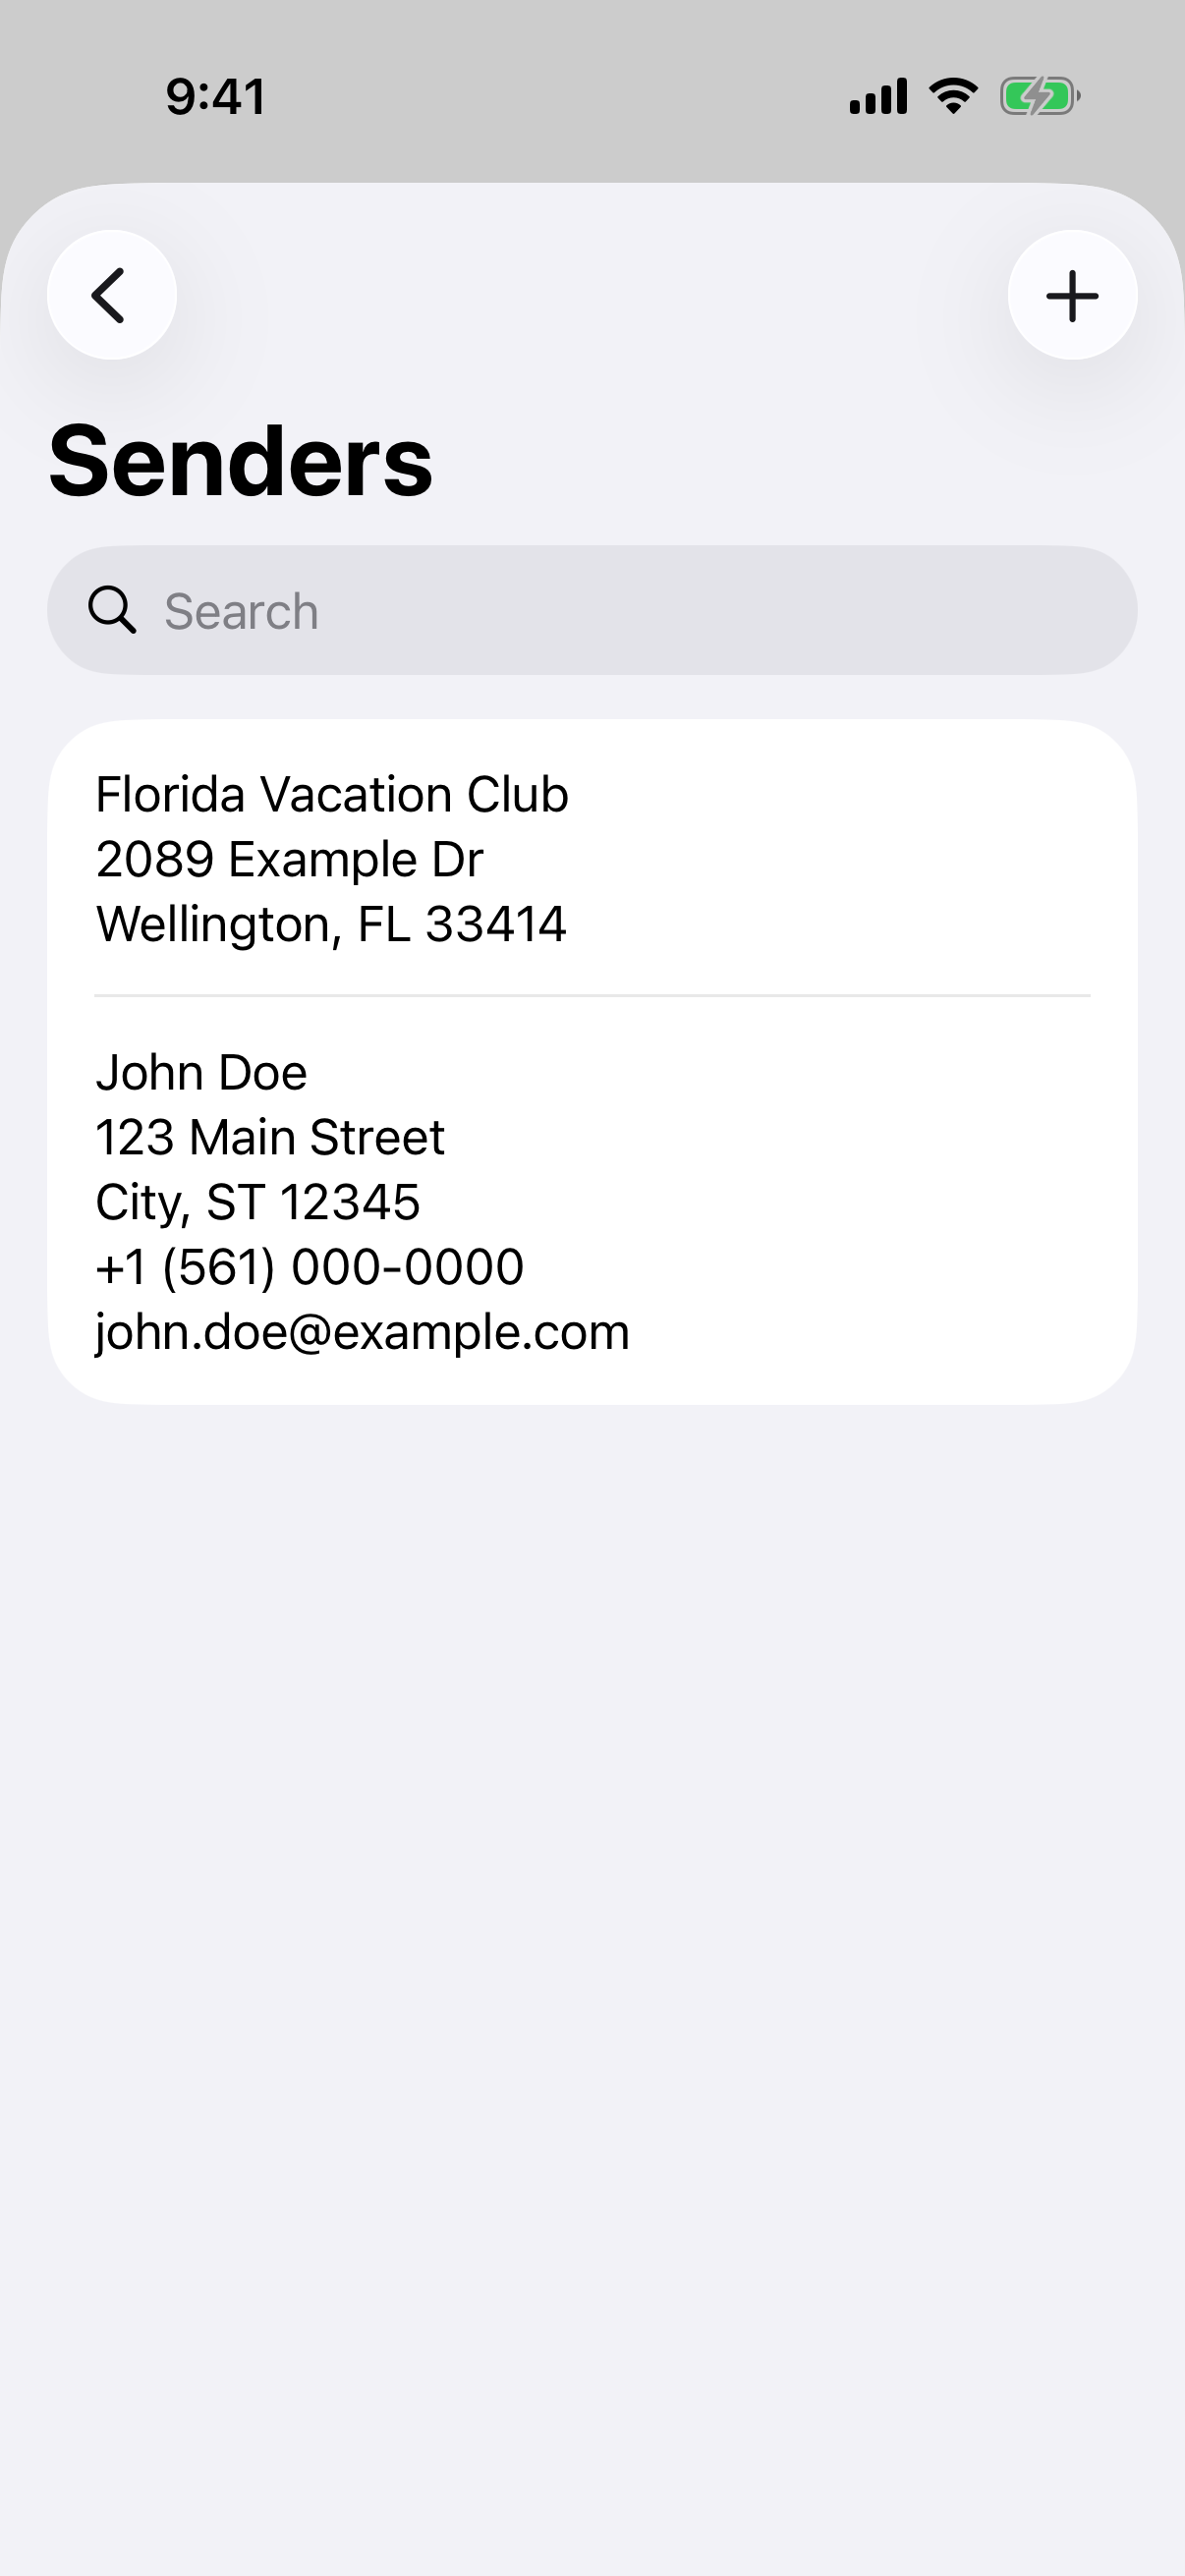
A Sender is a saved “From” address bundled with your preferred layout — so you don't re-enter everything each time. Manage them in Settings → Senders: tap + to add, search to filter, or tap a sender to edit.
A sender stores the From address, the show-sender toggle, a signature (drawn and/or text), all the layout options, and a Default sender flag that's applied automatically to new letters.
While writing, use the select sender action next to the Sender field to drop a saved profile into your letter.
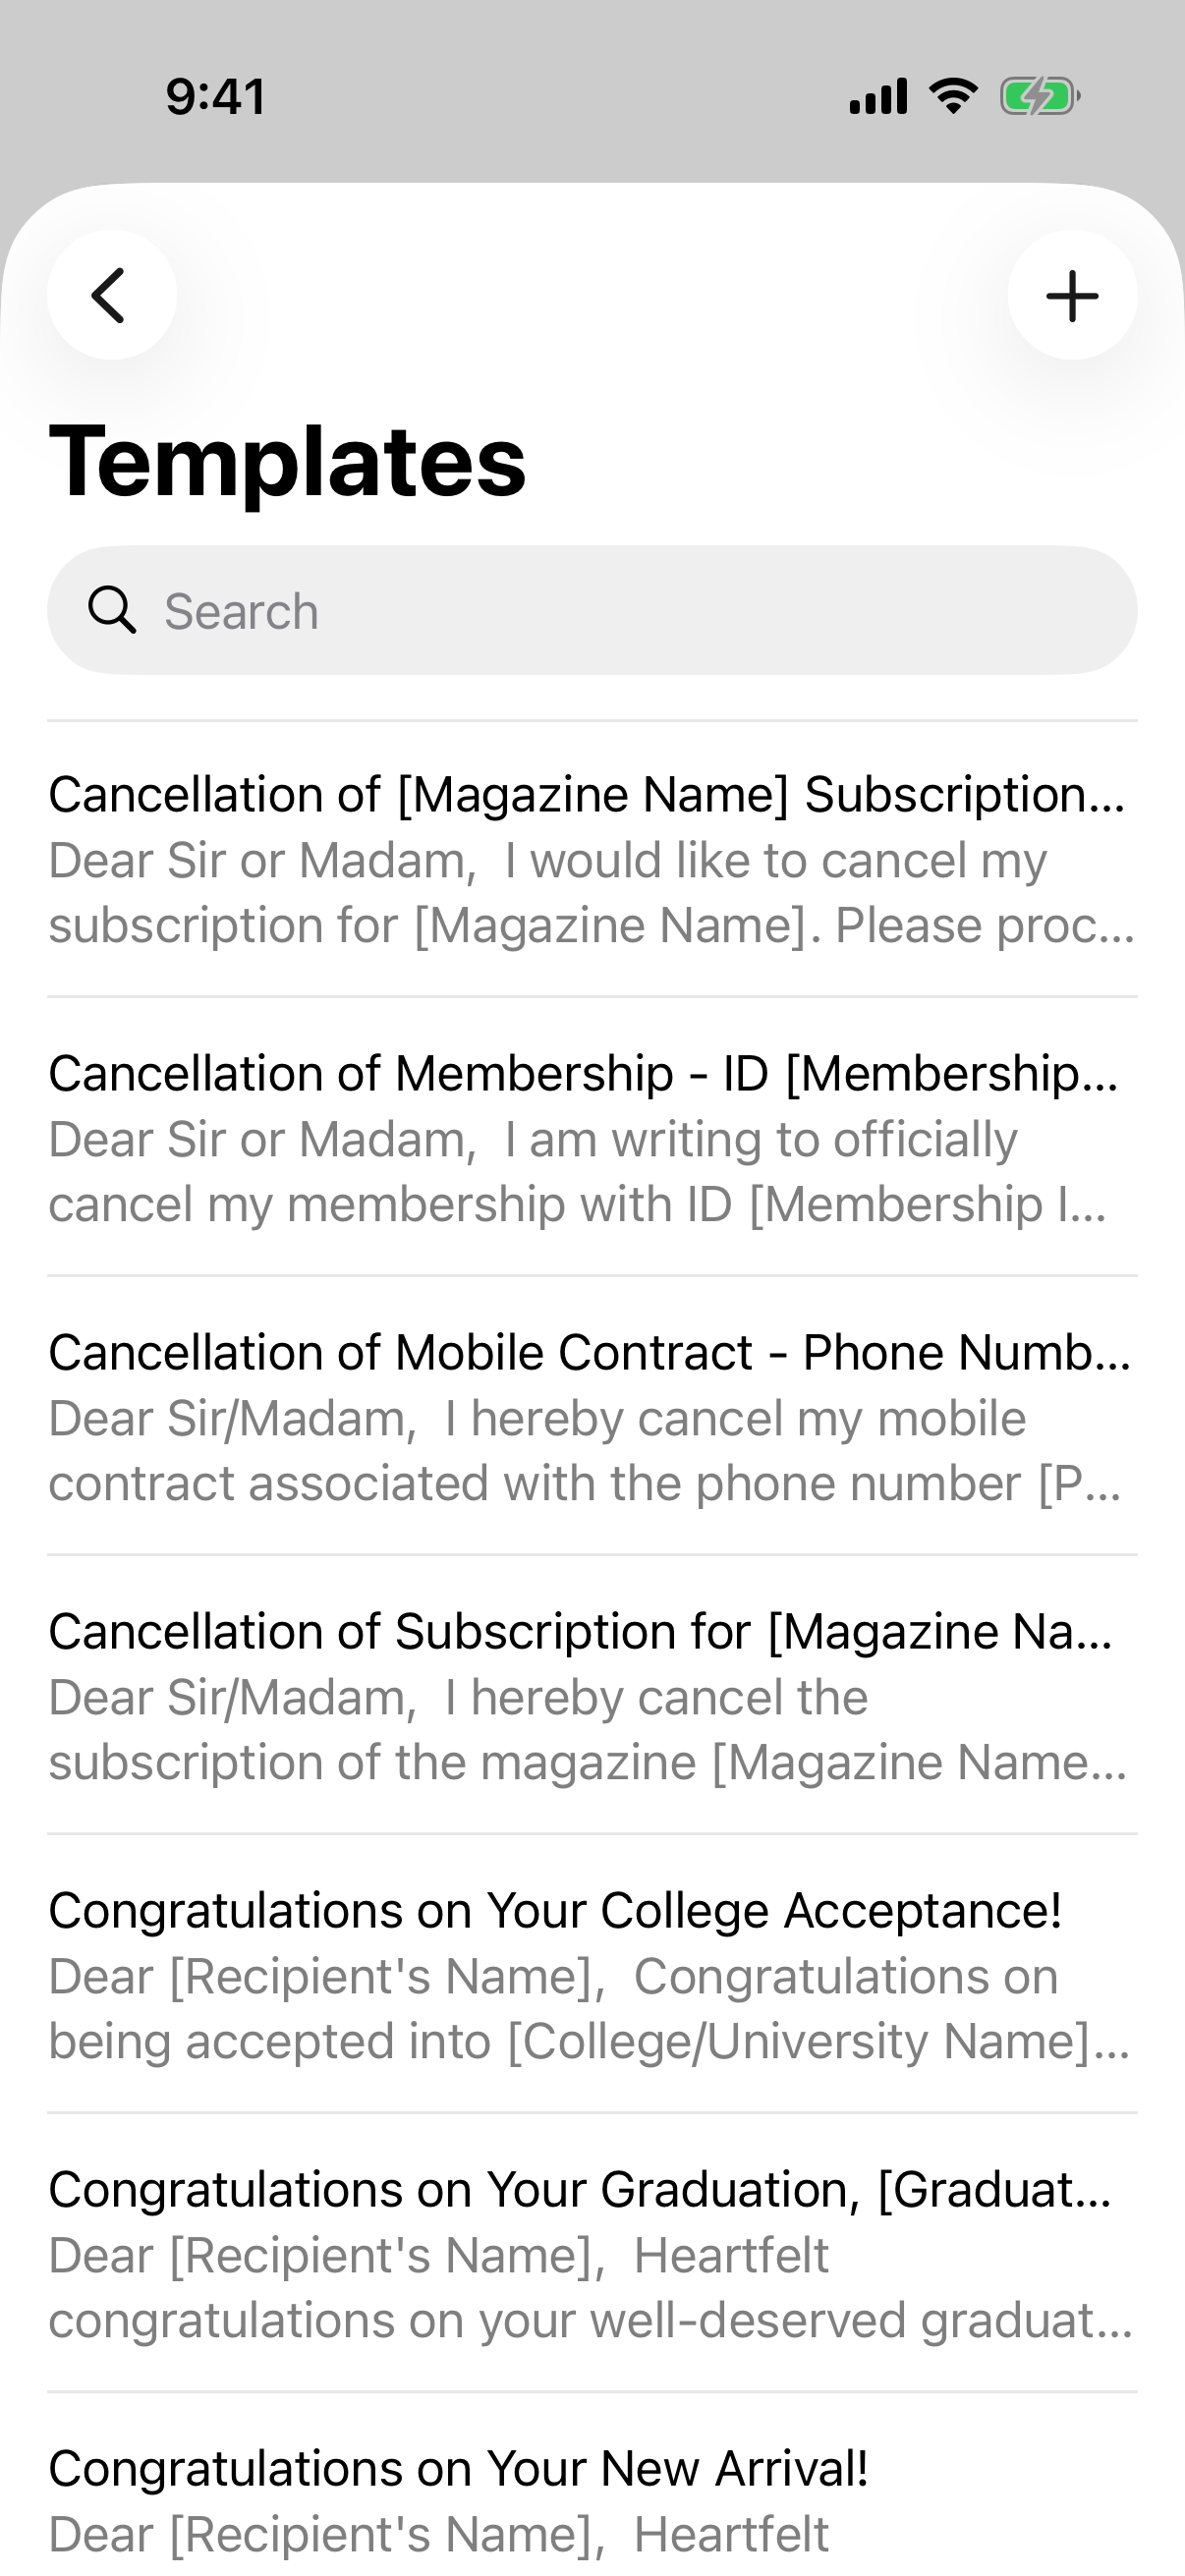
A Template is a reusable subject + body you can apply to any letter — handy for recurring letters. Manage them in Settings → Templates: tap + to add, search to filter, or tap a template to edit with the same rich-text editor.
While writing, use the select template action next to the Subject field to fill in the subject and body. The app also includes some built-in templates to get you started.
Next to the Sender and Recipient fields you can pull an address straight from your phone's address book:
Open Settings (gear icon) from the letter list. From here you can reach:
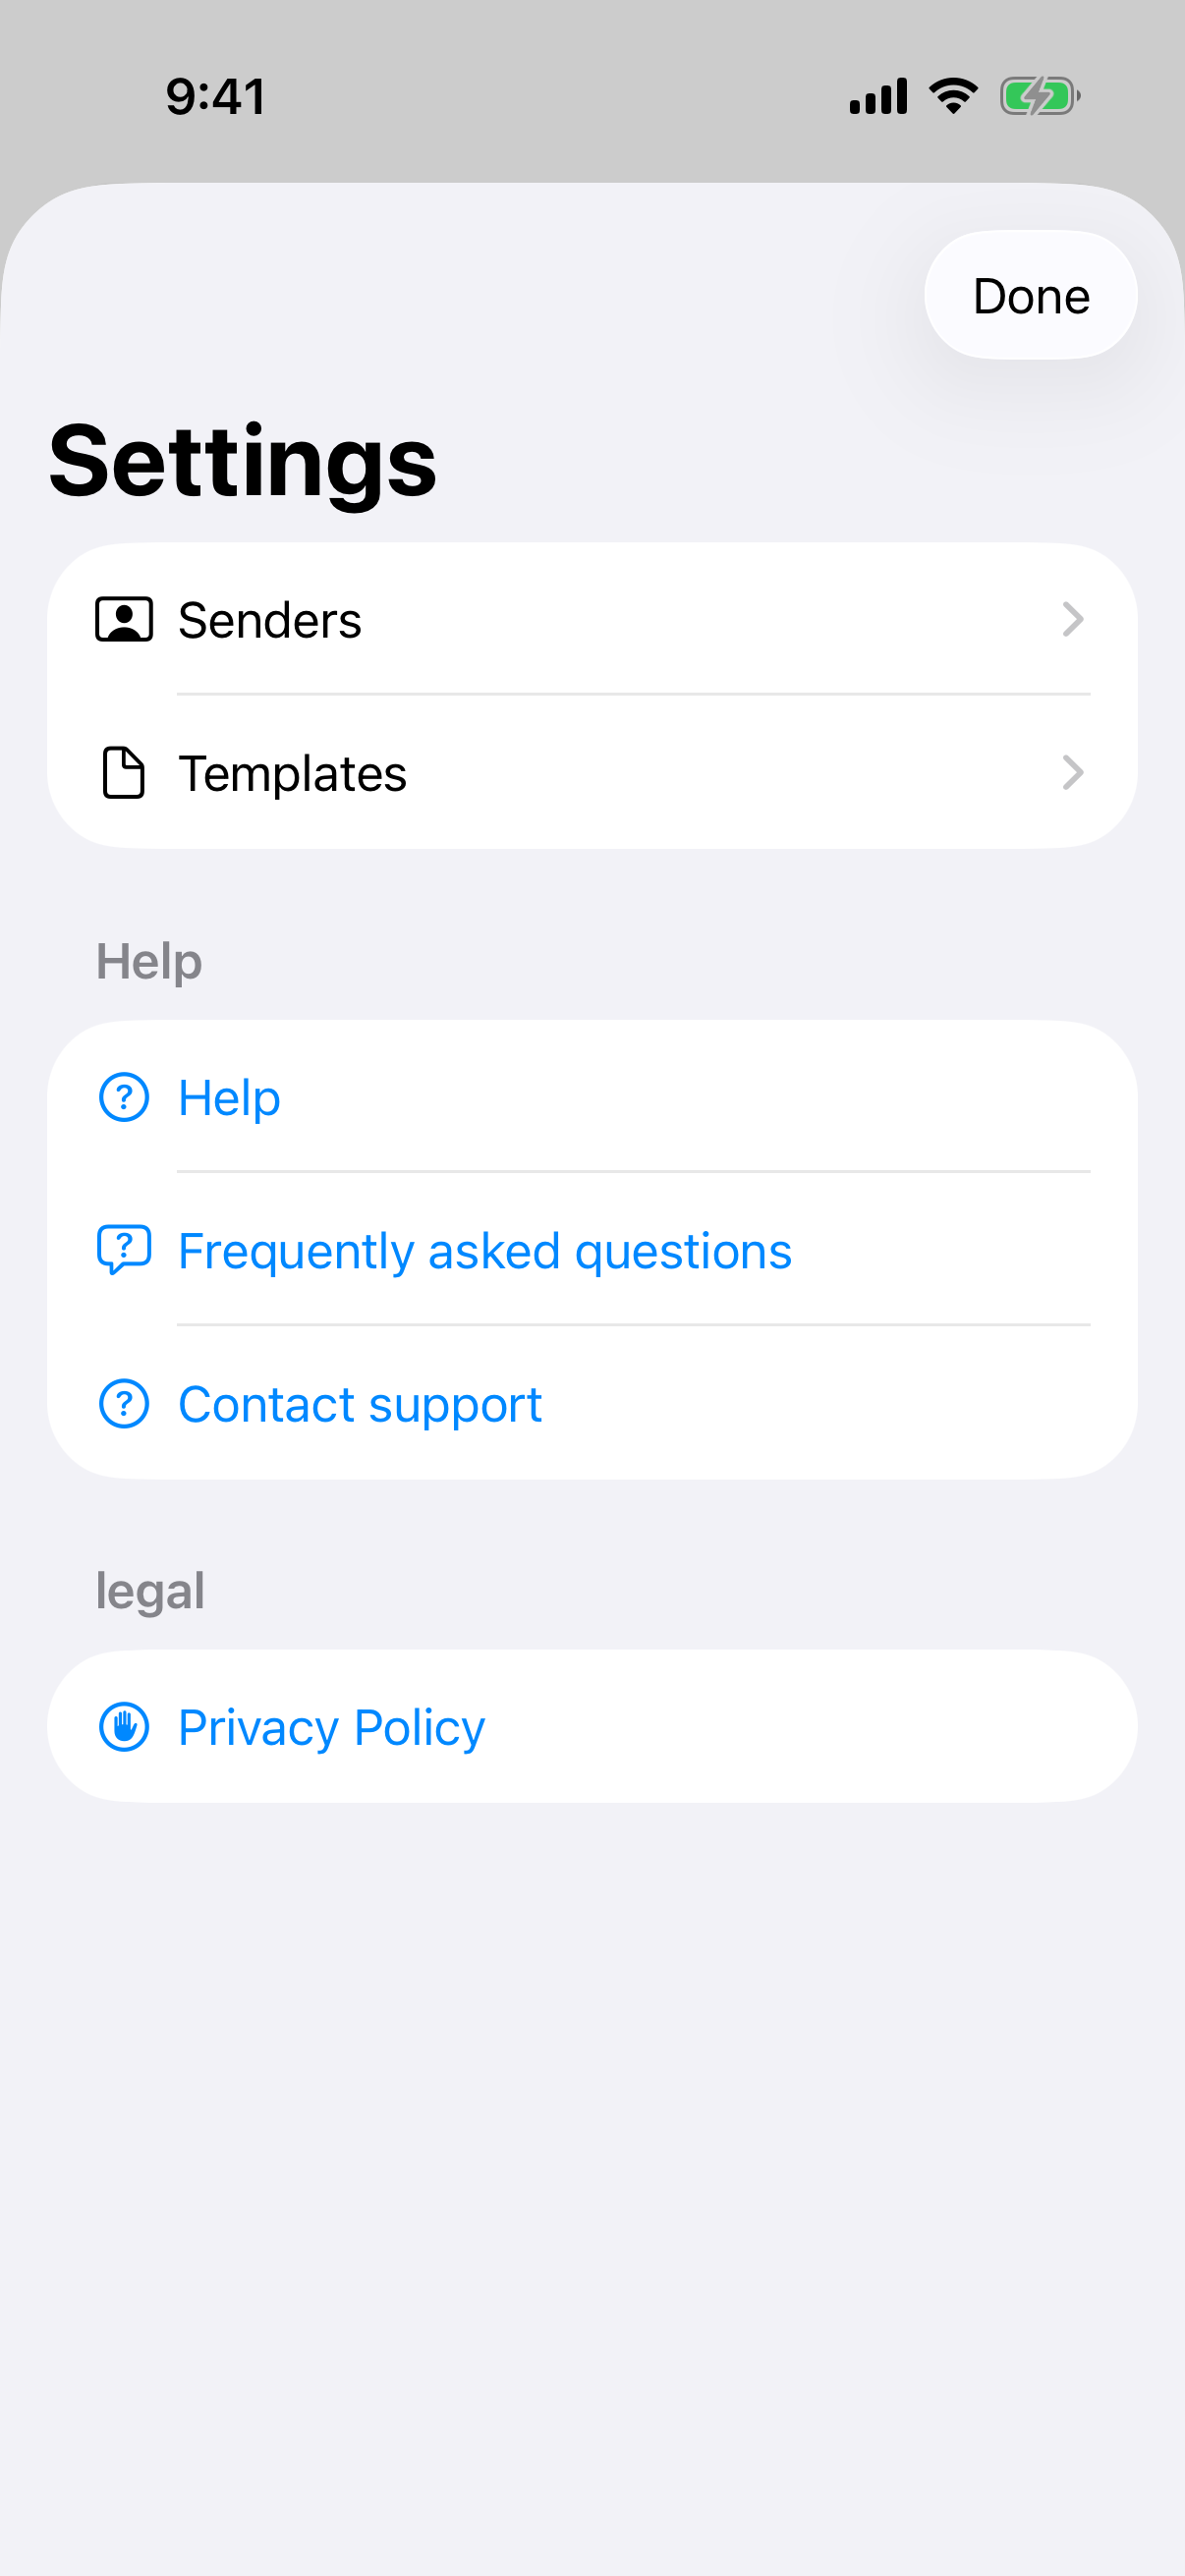
Letter PRO unlocks the advanced features. When you tap a PRO feature without a subscription, the upgrade screen appears. PRO unlocks:
The upgrade screen offers plans (weekly, monthly, yearly, or a one-time purchase) and typically a free trial, all shown in your local currency. Already subscribed on another device? Tap Restore purchases.
If you see “Billing is currently not available”, check your internet connection and make sure you're signed in to your app store account.
The app is available in 7 languages: English, German, Spanish, French, Italian, Portuguese, and Dutch. It follows your device's system language automatically, including locale-aware date formatting.
The layout adapts to the size of your screen:
This section applies to the iPhone/iPad version only.
On iPhone and iPad, your letters, senders, and templates sync automatically over iCloud. Sign in to the same iCloud account on each device and your content stays up to date everywhere — no manual export or backup needed.
If you have trouble syncing, check that: